Finance
Receiving payments (Stripe)
TrainerFoundry never holds your money. Every payment from your clients goes straight to your own Stripe account, and from there to your bank account. That's why there's a one-off step at the start: connecting the account and letting Stripe verify it.
Why Stripe at all
Anyone accepting card payments online needs a payment provider — and providers are legally required to know who they're paying out to. That's exactly what Stripe onboarding handles: your identity, business details and bank details are checked once. After that, every payment runs with nothing further from you.
Important for understanding how the money moves: the account belongs to you, not TrainerFoundry. Your clients pay you; TrainerFoundry only provides the interface. Your own TrainerFoundry subscription is completely separate from this — that's covered under Subscription & invoices.
Fees: 0 % commission, only Stripe's own fees
TrainerFoundry takes no commission on your clients' payments — 0 %. The only fees are Stripe's own, such as for card payments, for memberships, which run as Stripe subscriptions (Stripe Billing), for the invoices Stripe issues for your payments, and, if you're standard-rated, for the tax calculation. Stripe charges those fees to you directly; TrainerFoundry adds nothing on top. For the full, current fees, see Stripe's own price list. The invoices themselves are covered under Invoices to clients.
Starting onboarding
The direct route runs through the sidebar: Finance → Accept payments — this very page. You can also reach the same connection from three other places: the setup wizard, where you click Connect Stripe on the Stripe step; the offer wizard, as soon as you want to create a membership; and Settings under Tax & Billing, where an incomplete account shows the note "Complete Stripe onboarding".
If TrainerFoundry is still missing details that Stripe takes over when your account is created, a short form asks for just those first — depending on what's missing, your invoice legal name and invoice address, the email address for your business card and, if not yet on file, your phone number and business type. The button then reads Save and connect Stripe; Stripe takes the details over, so you don't type them in again there.
The click opens Stripe's form right inside the Backoffice, under the heading Set up your Stripe account — you don't leave TrainerFoundry for it. There you enter your legal structure, address, ID details and your bank details. In the setup wizard the same form opens on the Stripe step. After you submit it, Stripe checks your details, usually for just a few seconds. Meanwhile the page and the wizard show a progress notice and switch by themselves once Stripe has answered — in the wizard to Connected. If it takes longer than two minutes, TrainerFoundry says so; you can then leave the page. Once your account is able to take payments, TrainerFoundry sends you an email — once, the first time it gets there.
If Stripe rejects your account, the page and the wizard show that instead of the progress notice. You can't accept payments through that account, and continuing the onboarding won't help — the button for it goes away. Stripe support can tell you why the account was rejected; any notices from Stripe appear in Stripe's notice banner on this page. In the wizard, the notice points to this page, and you can skip the step. If Stripe restricts the account for a reason your details can't resolve, a notice says that too; then get in touch with us or with Stripe support.
Only the owner of your TrainerFoundry account can set up and manage the Stripe account.
Expect that this doesn't always happen instantly: Stripe reviews some details after the fact. If the status stays on Pending at first, that's not an error — check back on the page later.
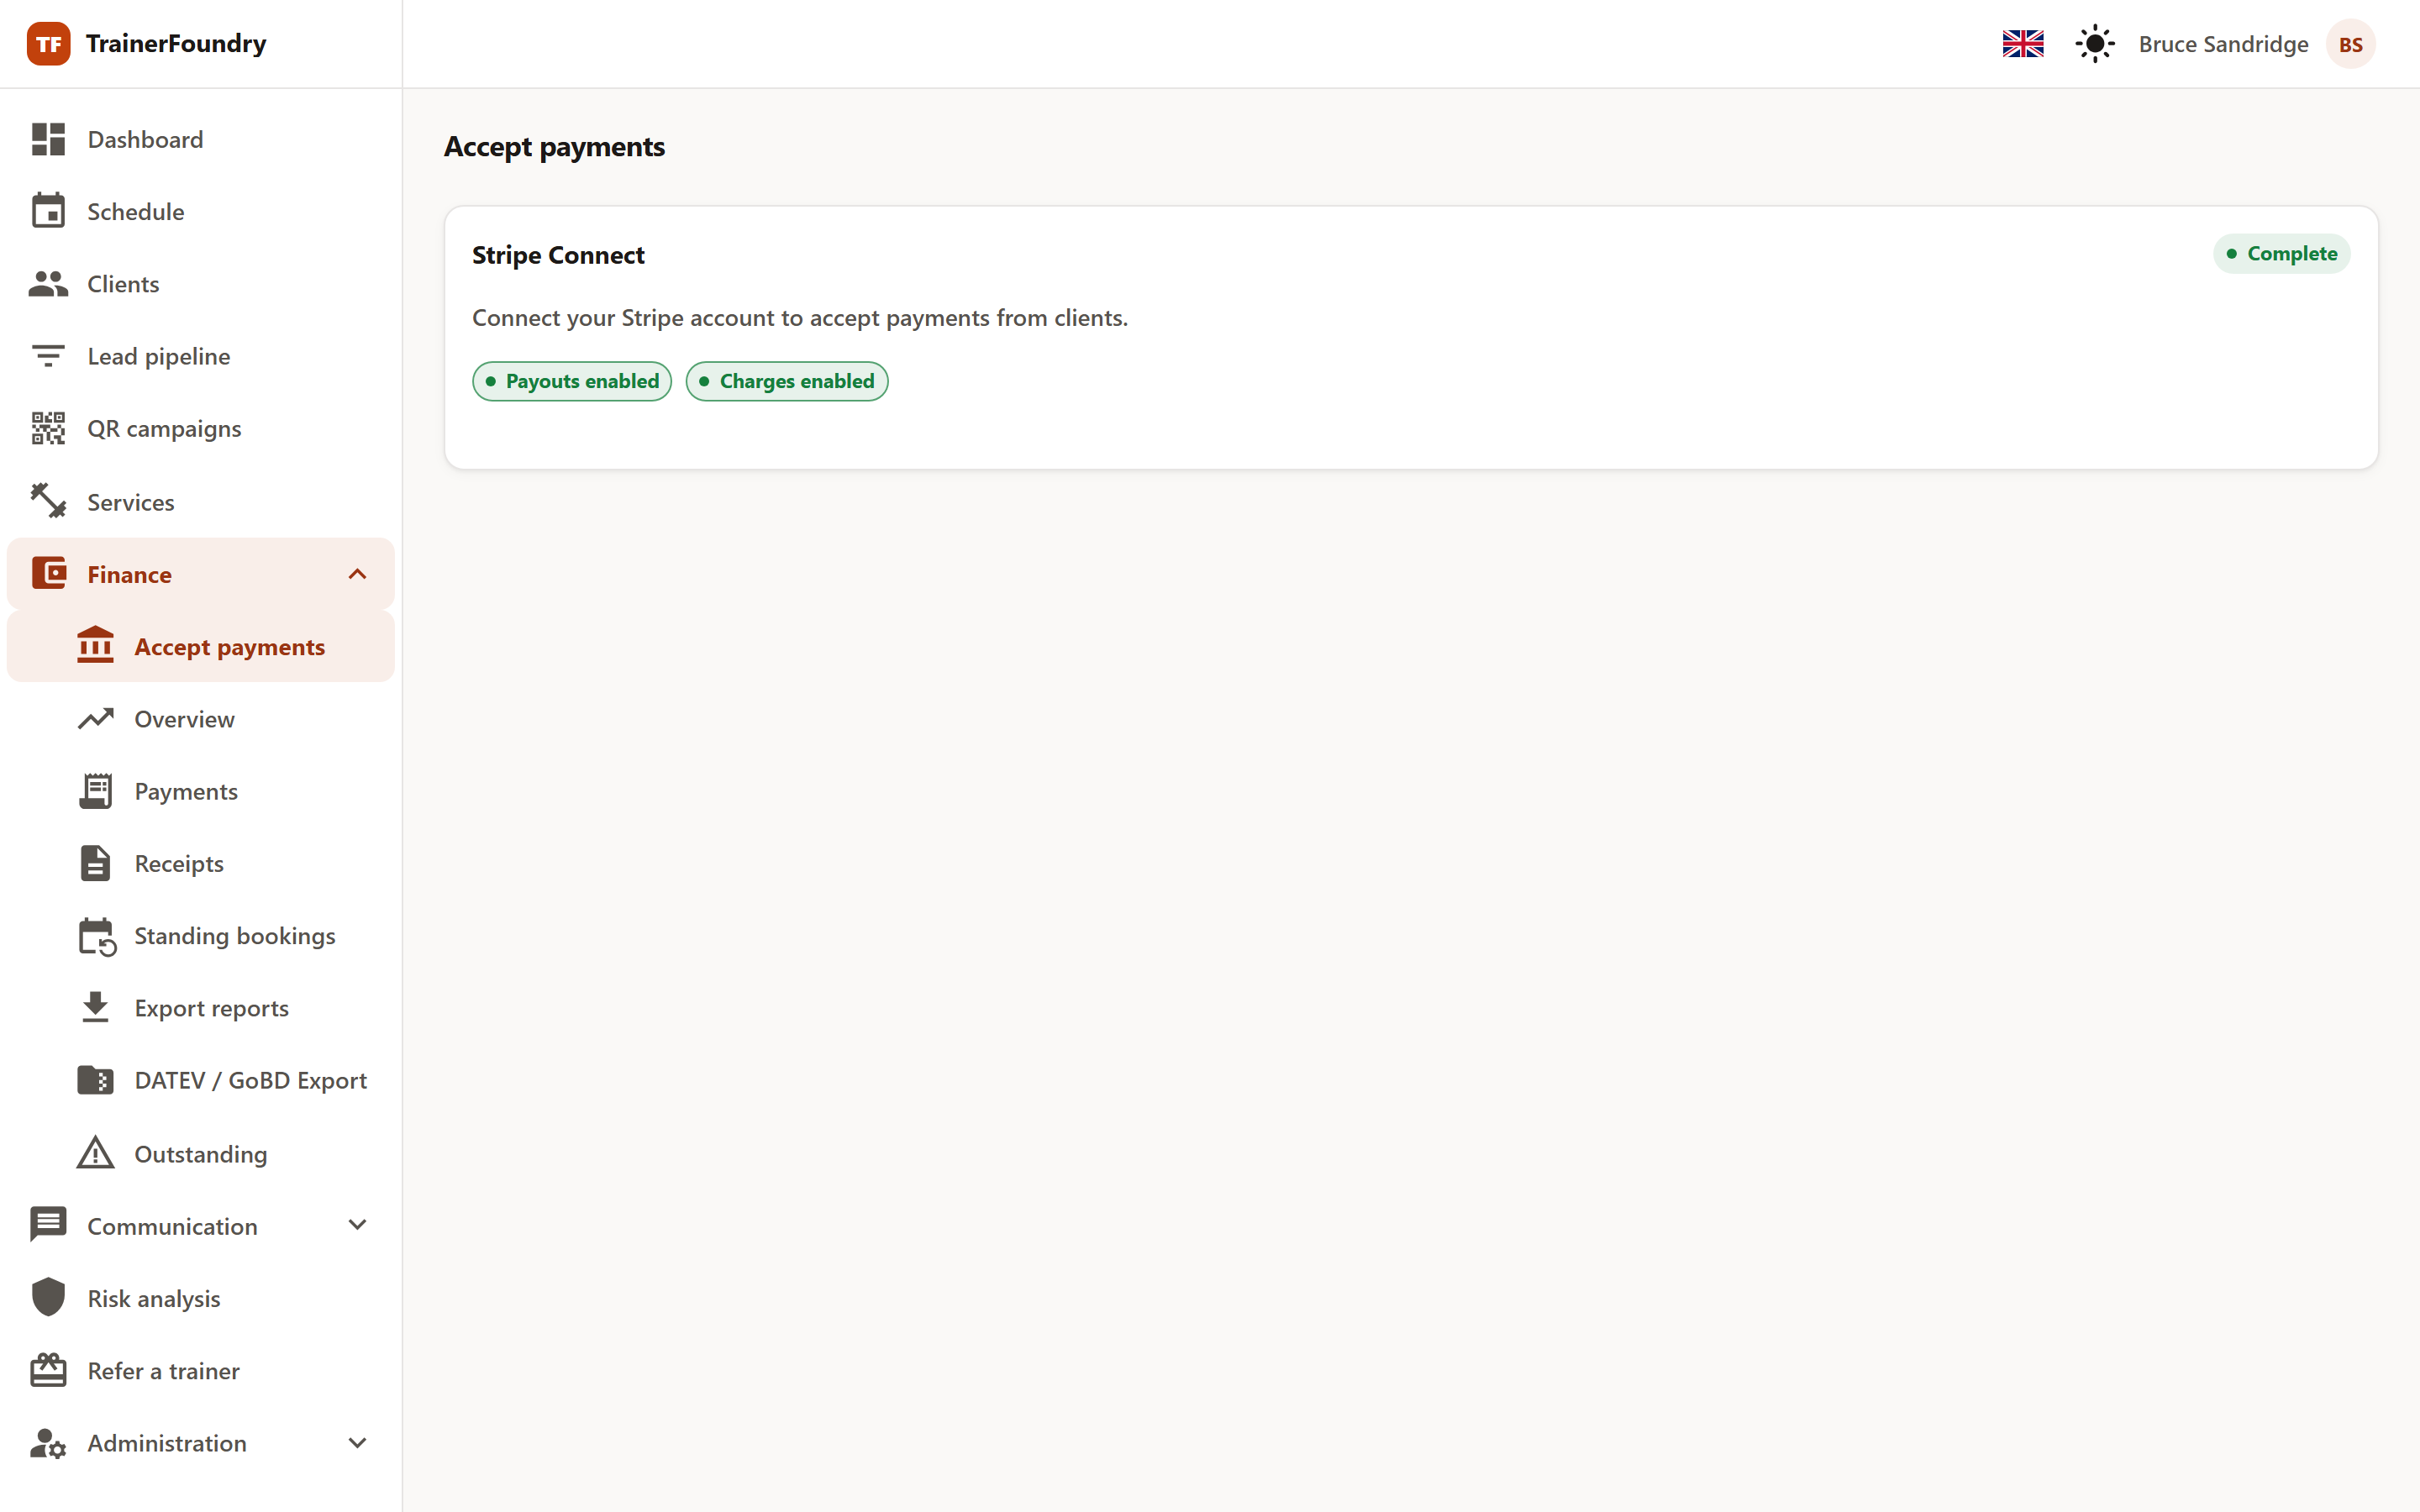
The four status values
The top right of the card shows where your account currently stands:
- Not started — No account exists yet. The button reads "Connect Stripe".
- Pending — The account exists, but Stripe hasn’t finished reviewing it yet — usually because some details are still missing. The button now reads "Continue onboarding"; while Stripe checks the details you submitted, a progress notice shows there instead.
- Complete — Stripe has verified you. Only now can you take payments online.
- Restricted — Stripe still needs details from you, or has restricted the account — say, because a document expired. Continue the onboarding and fill in the rest; Stripe’s notice banner on this page shows you what’s missing. The same badge shows when Stripe has rejected your account or restricted it in a way your details can’t resolve — then without the button, only with a notice saying so.
Once the status reads Complete, two more badges appear: Payouts enabled and Charges enabled. The two can fall out of step — Stripe sometimes enables charging before payouts, while it's still waiting on a document. In that case, money comes in but stays with Stripe for the time being.
If Stripe is still missing something, you as the owner see it in Stripe's own notice banner on this page — below the Stripe Connect card and, once the account is complete, the Cash payments card. The banner says in plain words what's missing, and you resolve it right there. Alternatively, you supply the details via the very same button you used to start onboarding — that button is available in every state except Complete, including when Stripe has restricted a previously completed account. Only while Stripe is checking the details you just submitted does the progress notice take its place — and once Stripe has rejected your account, or restricted it in a way your details can't resolve, the notice saying so.
Your Stripe account in the Backoffice
You don't need a Stripe dashboard of your own — everything you do at Stripe, you do on this page. Open notices from Stripe, such as a missing document, appear as a notice banner below the Stripe Connect card — once the account is complete, below the Cash payments card, which then sits in between. Once the account is complete or restricted, the section Your Stripe account appears below it with three tabs:
- Payouts — your Stripe balance and when it is paid out to your bank account. Payouts are controlled by Stripe, not TrainerFoundry.
- Payments & disputes — your clients' card payments. If a client disputes a payment with their bank, you respond to the chargeback here. Refunds work as usual in TrainerFoundry, see Payments & payment requests.
- Account details — your bank account and business details at Stripe.
Invoices for cash payments
For every card payment, Stripe automatically issues an invoice in your name. For cash payments, you decide: once your account is complete, this page shows the Cash payments card with the switch Automatically create an invoice for cash payments. Turn it on once, and from the next cash payment you record, your client gets an invoice for it too — marked as paid in cash. Without the switch, and without a Stripe account at all, a cash payment produces no document.
Without a completed account
As long as the status isn't Complete, TrainerFoundry rejects anything that would move real money:
- Creating payment requests (so every sale via payment link or QR code)
- Setting up and selling memberships — they need a running subscription with Stripe
- Your clients’ purchases in the Client App
- Cancelling standing bookings, because cancellation runs through Stripe too
Everything else works as normal. You can add clients, plan sessions, run sessions — and you can even sell, as long as no card-payment route is involved: cash payments and free give-aways bypass Stripe entirely and work even without a connected account. For everything else, the rule is: finish onboarding first, then sell.
A second point hangs on the same step: with Standard-rated tax, TrainerFoundry only sets up its tax calculation once your account is fully connected. Details are covered under Tax & VAT.